
Last updated: 11 November 2026
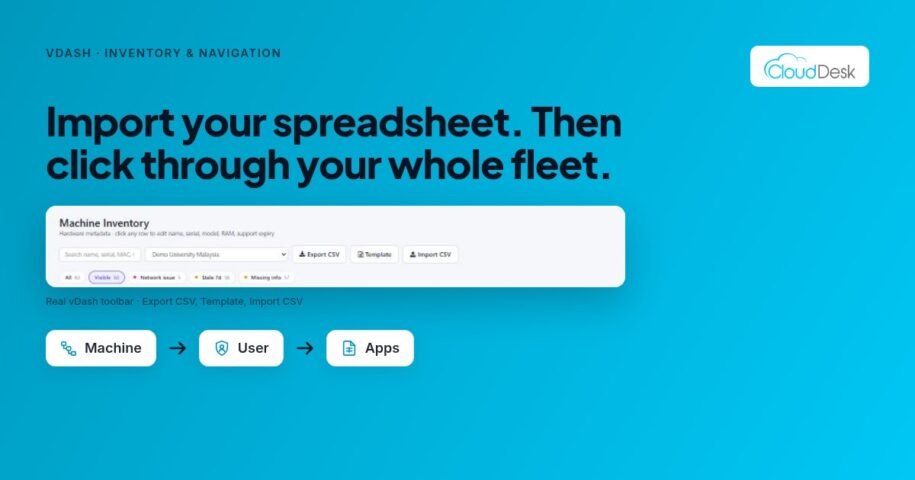
Short answer: You do not need to rebuild your asset list to start using vDash. Import it in bulk from CSV or Excel using vDash’s template, export it again in one click whenever you need it, and use click-through navigation to move from any machine to its active user and running apps, from a user to their machine history, or from an app to every machine running it.
The spreadsheet problem
Almost every college and university lab team has an asset spreadsheet. It lists PCs, serial numbers, locations, departments and the software each lab needs. It is also usually out of date, because keeping it current means walking the labs or piecing together information from several systems.
A monitoring tool should make that spreadsheet more useful, not force you to type everything in again. That is the idea behind two of the new features in CloudDesk vDash.
Step 1: Start from the template
vDash provides a clean import template designed to minimise import errors. Before you import, copy your existing data into the template’s columns rather than uploading your own layout as-is. Supported fields include licence count, app names, versions and department.
A few habits help the import go smoothly:
- Use one consistent name for each department, so machines group correctly later
- Remove duplicate rows and blank lines before importing
- Keep one row per asset, and one value per cell
- Save a copy of your original spreadsheet before you change it
Step 2: Import in bulk
With the template filled in, import the file to load your asset data in bulk. This is far quicker than editing machines one at a time, and it means the department and licence information you already have is in vDash from the start.
If you are also setting up department groups, the department field in your import is a good place to begin, because it maps machines to the faculties and labs they belong to.
Step 3: Export whenever you need the data elsewhere
Inventory data is often needed outside the monitoring tool: for audits, budget planning, procurement or a report to management. vDash lets you export the full app or machine inventory to CSV or Excel in one click, so you can share an up-to-date list without copying it by hand.
Step 4: Click through instead of building a report
Once your inventory is in vDash, click-through navigation turns it into something you can explore. It works in three directions:
- Machine: click any machine to see its active user and running apps
- User: click any user to see their machine history and sessions
- App: click any app to see which machines and users are running it
A breadcrumb trail keeps context clear at every level, so you can move from the fleet view down to a single machine or user and back again without losing your place.
Everyday questions this answers
Click-through navigation is most useful for the quick questions that land on a lab admin’s desk every day. Who was using this PC? Which lab machines run a particular application? Which machines has a given user logged in to? Instead of exporting data and filtering it, you can follow the links and see the answer on screen.
It also helps when you are checking your imported data. If a machine shows up in the wrong lab or with an unexpected app, you can find it, fix it and move on.
Try it with your own spreadsheet
CSV and Excel import and export and click-through navigation are two of six new features now live in CloudDesk vDash. vDash is offered as a per-PC annual subscription, and the quickest way to see it with your own data is a free 2-week pilot.